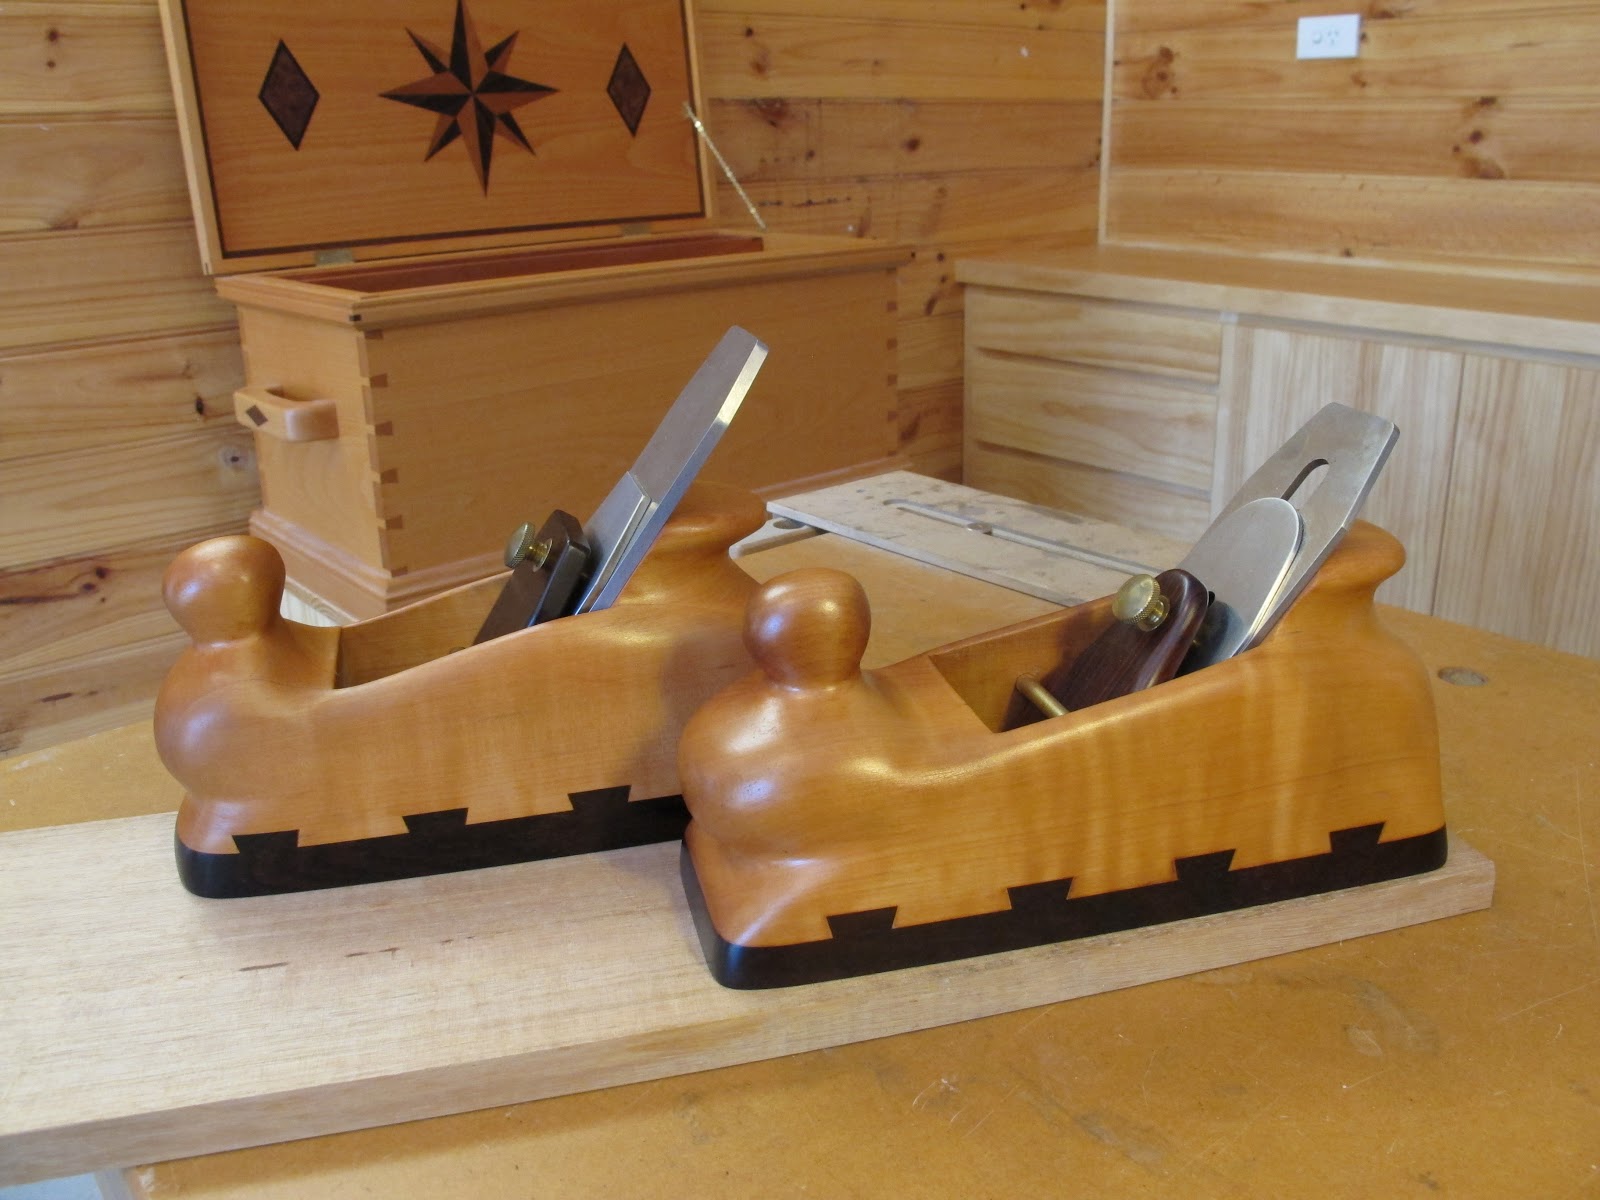
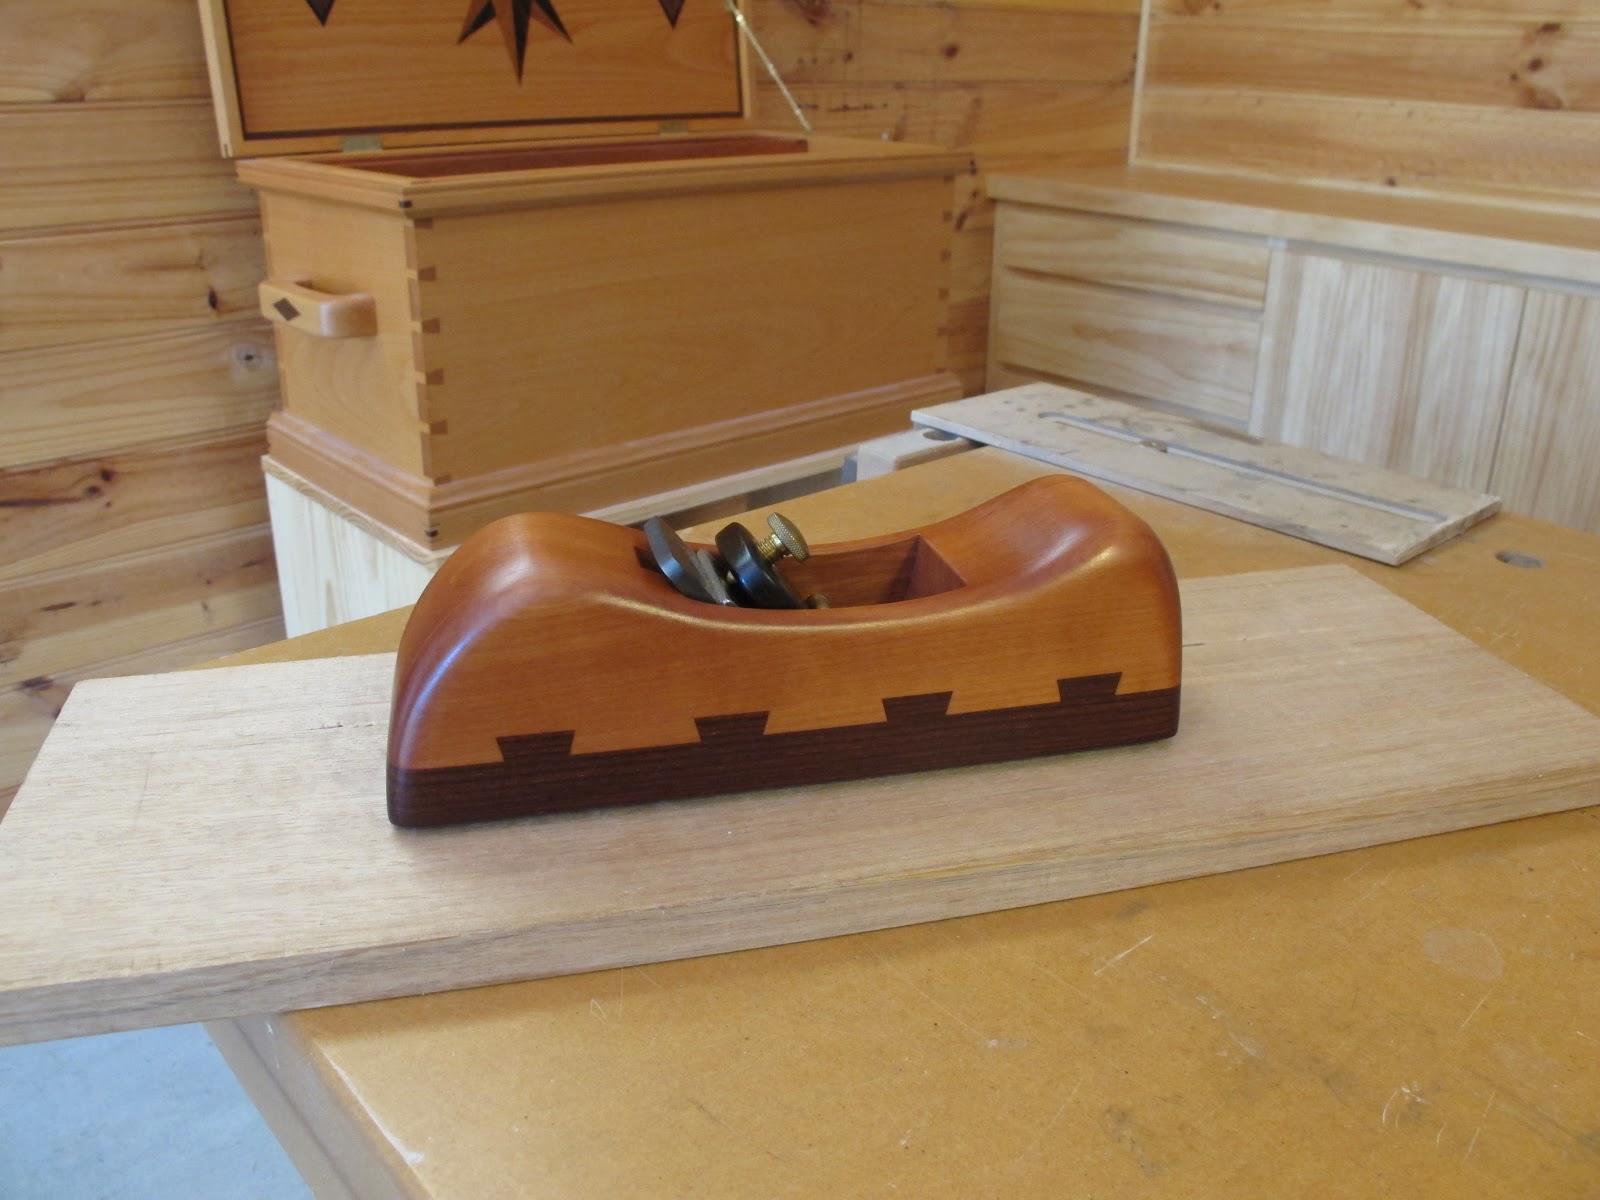
Here are some photos of my latest planes. (Click on any photo to enlarge).
If you would like to follow more of my day to day plane making please check me out on Instagram.
You do not have to be an Instagram member, just click on the big pink camera on any page of this website or Google search: bjsplanes Instagram.
Low Slung Smoother: LSS-30 with figured Belah infill.
LSS-35 with ringed Gidgee infill
LSS-35 with Damascus steel sides and Ebony infill
And matching Damascus steel and Ebony adjustment hammer
I was excited to get the opportunity to use some of this beautiful Gidgee burl in one of my low-slung smoothing planes.
(Click on any photo to enlarge).
This is rare and valuable wood, so I had to be extra careful on the band saw.
I got some nice clean blocks and I made sure to keep even the smallest off-cuts.
The shoe box of small pieces will be good for inlay work, small infills or beautiful knife scales.
Here are a few photos of the finished LSS-35 smoothing plane.
This low slung smoother measures 156mm long, with a 35mm wide blade.
The imperial equivalent measurements would be approximately 6 1/8” long, with a 1 3/8” wide blade.
I used to make this plane size with an 1 1/4” (31.75mm) wide blade. The extra blade width definitely improves this small smoother.
The next step is to dovetail in the lower and upper stretchers. This is the lower stretcher detail with the entire frame turned upside down.
I used 12mm birch ply, which is permanently fixed to the lower stretcher and the dovetailed section will just be dry screwed. This joint will again not be visible but I stained it black to match the frame when it is ebonised.
The upper stretcher is also dovetailed, but not glued, so the entire frame can be dismantled when needed. I used 19mm thick material so it not visible under the top.
Dovetail ready to be planed flush. This dovetail was also cut by hand.
Everything is finished and disassembled. The next morning I give everything a final smooth and begin the ebonising.
The ebonising solution is made by dissolving fine steel wool in household vinegar.
After dissolving for a couple of weeks, I just strained the solution through some fine cloth and then a coffee filter. The Victorian Ash is a good wood for ebonising because it has a high level of natural tannins. Of course I experimented with several off-cuts before doing the entire frame. I wanted the frame to be a very dark black to match the pitch pockets in the slab. The results were great and better yet the process was non-toxic.
The frame is top coated with five coats of Danish Oil and ready for the slab top.
I shot some video on the day I did some final smoothing before ebonising.
I am using the low slung smoothers that I make. This one is 6 & 5/8” long with an 1 & 1/2” wide blade. I find it easier and more enjoyable to push a smaller smoother. The narrower blade means that you make more passes however, with a little camber even this Ring-Porous, Victorian Ash comes up glassy smooth.
Wow! This year is flying by.
As I said in my last blog post, my wife and I are doing some house renovations and we are neck deep in tearing out the kitchen. (Click on any photo to enlarge).
The reno is not allowing me time to make any planes but I am however, still taking a little time here and there to refurb some old tools. My latest is this old Stanley #51 & 52 plane and shoot board.
I was given an opportunity to purchase this from a friend, who is selling off his collection. I did not want to purchase this plane just because it was a cool object. I wanted to see how well this old plane and shoot board performed. My friend was happy for me to take it and if I could get it working, then money would exchange hands.
The whole thing was covered in a thick layer of dust, so I gave it a good wipe down, covered it in Camellia oil and it sat for several weeks before I could get back to it.
I then wiped all the oily residue off with a rag and some methylated spirits. When the plane body was clean, I could then get a good look at the plane’s condition and how well it was machined. The plane body was square and looked good.
The next order of business was to sharpen the blade and tune the chip breaker. The back of the blade flattened up quickly, however you can see that there is a considerable amount of pitting in the blade.
I knew that it would work but, I need to get a replacement blade. I will probably try a Lee Valley replacement in that fancy “PMV-11” steel.
Then I needed to tune up the frog. I apologise that I didn’t get any photos of this process, but at the time I was more worried about getting it done than grabbing the camera. The frog did need a serious tuning. It was not meeting to the plane body very well, so I unscrewed it and filed the mating surfaces until everything was true. I screwed the frog back to the body and then trued up the entire bed angle.
Next I turned my attention to the #52 shoot board.
The track that the plane runs in will wear over time so it can be adjusted to allow for this.
The adjustment screws and bolts were seized solid, so I soaked them in a pool of WD-40 for a few days. The next photo shows the shoot board, flipped over and one of the four bolts in it’s WD-40 bath.
By the next weekend the bolts were free and the fence was again adjustable.
It was now time for the long awaited test drive. My engineer square was telling me that the plane body was nice and square but I was curious to see how flat the sole was. A quality straight edge is fine, but I like to test flatness by using another plane. If you have a plane made by Lie Nielson or Veritas, then it should be well machined and pretty damn flat. I jointed a piece of wood with my Lie Nielson 5½ Jack Plane and took a few light shavings. The old Stanley followed up the 5½ with equally thin shavings, no problem. So I knew that the sole was good and true.
Now it was time to see how it felt while shooting using the #52. Up until now my shooting set up has been the Veritas low angle jack and it has done a great job.
Here is a short video of the old Stanley in action. I am really happy with it and am confident that it will perform even better when I get the new thicker replacement blade.
I was contacted a couple of months ago by a local woodworker and hand tool enthusiast, who was interested in potentially commissioning one of my planes. The next step was simple, invite him over for a Saturday afternoon and take some shavings. It was a great day, low key and lots of fun. He was able to try all of my planes, old and new, and was happy to pick them up and put them to work.
Like myself, he enjoys doing smaller woodworking projects and he was attracted to the feel and versatility of the 1¼” low-slung smoother. If you do fine woodworking, chances are you do smallish projects such as box making or small drawers, or your larger projects include small details such as inlays. This small smoother is great for all sorts of smallish jobs and can be used comfortably with two hands or one. Why use a sanding block to remove machining marks from the edges of a small drawer side? One or two passes with this plane and the edge is smooth and ready for finishing.
Or use it with one hand to gently round an edge or clean up a chamfer.
With the blade cambered, I can level up a delicate joint or smooth any small surface.
Of course every woodworker has a favourite plane to perform these tasks. You certainly do not need this plane or an infill plane - whatever works for you. I would just like to encourage more woodworkers to trust in their fine planes on projects. I’d rather sweep up shavings than sanding dust.
I actually use this size plane to fit my parallel sided infills and the first time I tried it I was surprised at how accurate this method is.
I was finally able to get my hands on Naval brass for this plane thanks to a good Samaritan in America. It was a great brass to work with and it will be what I use for now on for my low-slung smoothers. Here are some more pictures of the finished plane.
While taking the photos for this most recent blog, my wife and I had a play with the video feature of her camera. It was a bit of fun – you can check it out on the new Video page on my website - BJS Planes and Working - Video page.
Where to start? Well I guess I should talk about why I started making planes. As an apprentice in Canada in 2003, our first project was a dovetailed foot stool that was constructed using only hand tools and I fell in love with working wood in this manner. My instructor was using a wooden plane that he had made. I was struck by how beautifully it worked and how he had customized the shape to fit his hands. He was very generous and offered to help me make my first plane. Here is a picture.
This is basically a copy of his plane, except I carved a horn in the front of mine. The scrolled wedge was his design. This plane was made using Rock Maple and Rosewood.
From here I continued to make and use wooden planes. Here is a picture of my next two planes. A 19 inch Try plane and an 8 inch Smoother with custom adjustment hammer. These planes were constructed using Beech and Wenge. As my skills increased I could incorporate the sliding dovetail sole.
As I began to gain more woodworking experience and try out different styles of planes. I realised that the shape of my earlier Smoothers was not really that comfortable. Then I made a couple of these Smoothing planes.
The shape is basically a more organic version of the ECE Primus wooden Smoothing planes. The body is Pearwood and the sole is Cocobolo. Another difference in this style plane was incorporating a knurled screw in the lever cap as opposed to a wedge. This makes adjusting the plane much easier. When you tap the body of the plane to adjust the depth of cut, only the blade moves, not the blade and wedge.
In my next blog I will talk about how I progressed to making the infill planes that you can see in my gallery. Here are a few more pictures of some of my wooden planes. The low profile, radius bottom plane was made from a beautiful piece of heartwood Pear and Cocobolo.